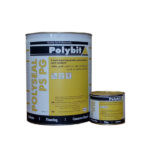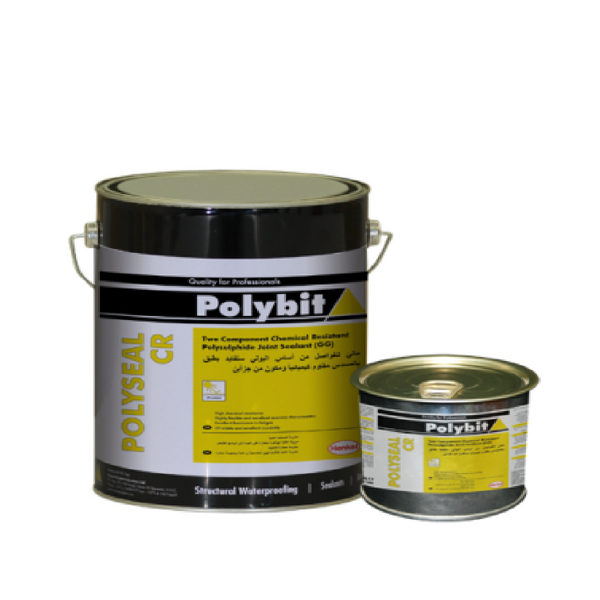
Polyseal CR
2 part chemical resistant polysulphide joint sealant
Properties
- Highly resilient with excellent recovery characteristics
- Provides permanent and uniform watertight seal
- Non-staining
- Excellent resistance to fatigue and stays flexible throughout its service life–won’t become brittle, caulk or crack due to ultra violet exposure
- Prevents uncontrolled cracking by allowing expansion and contraction during temperature changes
- Excellent adhesion to most common building substrates
- Good resistance to ageing. Retains joint soundness once cured
- Resistance against mild chemicals, hydrocarbon fuels, sea water
- Non-toxic. Can be used in potable water applications, swimming pools
Description
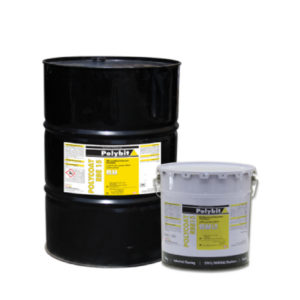
Polyseal CR is a two component, chemical resistant polysulphide joint sealant. Polyseal CR is specifically designed to be used as a watertight seal for moderate movement and control joints in areas subjected to industrial chemicals, hydrocarbon fuels and effluents. it is based on a liquid polysulphide polymer which when mixed with the hardener, cures to form a tough, flexible and non staining rubber like seal. Polyseal CR has excellent adhesion to concrete, stone, metals and other common building substrates. The cured sealant has good resistance to deterioration on prolonged exposure to UV. Polyseal CR is available in two different grades. Polyseal CR black is resistant to chemical and sewage effluents. Polyseal CR grey is resistant to hydrocarbon fuels. the sealant has a movement accomodation factor (maf) of ±25%.
TDS for Polyseal CR
- Step by Step
Joint preparation
The joint edges must be clean, dry and free from oil, loose particles, cement laitance and other contaminants which may affect the adhesion. A thorough wire brushing, grinding, sand blasting or solvent cleaning may be required to expose a clean and sound substrate.The compressible joint filler shall be cut back to expose a uniform joint depth.
Priming
Primer shall be applied to a clean and dry surface prior to the installation of backer rod or bond breaking tape. Polyprime PS* is recommended to be applied on porous substrates. For non-porous substrates such as steel or glass Polyprime NP* is recommended for optimum adhesion. The primer shall be applied by a brush in a thin coat application and shall be allowed to become tack free prior to the application of the sealant. The joint edges shall be re-primed if the sealant installation is not carried out within 3 hours of application of the primer. For obtaining a clean and neat finish, masking tape shall be applied on both the edges of the joint before applying the primer.
Back-up Material
A bond breaking backing rod (Polyrod)* shall be inserted into all movement joints to avoid a three sided adhesion. Use of a backing rod will ensure proper joint depth and at the same time facilitating the formation of an hour glass profile on the applied sealant. The backer rod will also provide resistance to sealant tooling pressure and help to attain proper wetting of the substrate when the sealant is being tooled. The diameter of the backing rod shall be at least 20% larger but not greater than 33% of the joint width. This will ensure that the backer rod remains in compression and in place during sealant installation. For static and joints where the depth is not sufficient for the use of the backing rod, a bond breaking tape may be applied to prevent the three side adhesion.
Mixing & Application
Polyseal CR is available in a ready to mix container, with all the components packed in a single tin. The material shall be mixed thoroughly with a slow speed drill (300-400 rpm) fitted with a flat bladed paddle for 2-3 minutes till a uniform colour and consistency is achieved. DO NOT PART MIX. since the base and the curing agent ratio controls the ultimate physical properties like adhesion, durability and strength, one complete kit has to be mixed at a time. the side and base of the container shall be periodically scrapped with a scrapper to ensure that the curing agent is properly dispersed and blended into the mix. Load the sealant immediately into the barrel gun by a heavy duty follower plate. Remove the cap and nozzle from the gun and ensure that the plunger is pushed all the way forward. the follower plate shall be placed on the flat surface on top of the pail. Place the barrel gun over the lip of the follower plate and depress the release plate and draw the material into the barrel by pulling back the plunger slowly. Fix the nozzle and start extruding into the joint firmly by maintaining an even pressure on the trigger of the gun. on vertical joints, sealant extrusion shall start from the bottom of the joint and continued to the top. for deep vertical joints, the sealant shall be filled in 2 to 3 applications in order to avoid air entrapment and sagging. once the sealant has been installed a suitable rounded tool soaked in a soapy water solution can be used to achieve a smooth hour glass profile. Any masking tape applied should be removed immediately after the sealant is installed.

