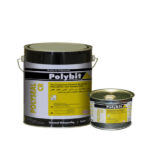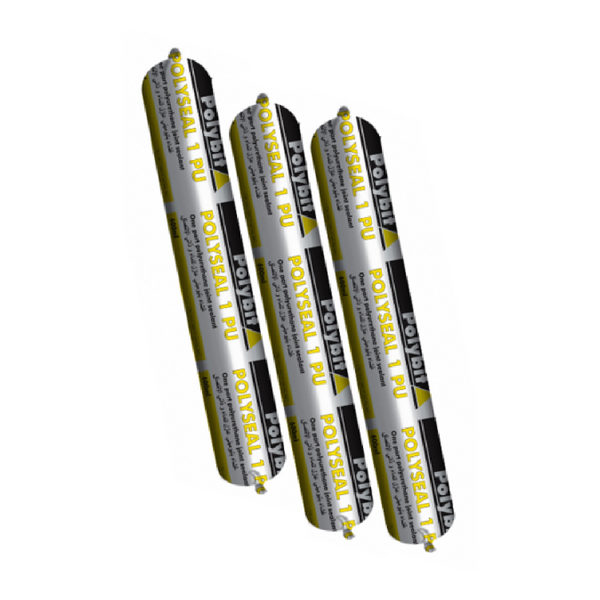
Polyseal 1PU
Polyseal 1PU
One part polyurethane joint sealant
Properties
- Highly resilient with excellent recovery characteristics
- Provides permanent and uniform watertight seal
- Excellent adhesion to most building substrates. Can be used without the use of primer in new substrates
- Non-toxic. Can be used in potable water reservoirs and swimming pools
- Easy to apply, one component sealant. No mixing required
- Overpainting can be done (Rigid paints may crack)
Description
Polyseal 1PU is a one part low modulus high performance polyurethane sealant, which cures on absorption of atmospheric moisture to form a firm and flexible rubber watertight seal for moderate movement and control joints. Polyseal 1PU can be used in both horizontal and vertical applications. The sealant has a Movement Accomodation Factor (MAF) of ±25%.
TDS For Polyseal 1PU
- Step by Step
Joint preparation
The joint edges must be clean, dry and free from oil, loose particles, cement laitance and other contaminants which may affect the adhesion. A thorough wire brushing, grinding, sand blasting or solvent cleaning may be required to expose a clean and sound substrate. When applied on glazed surfaces like ceramic or terrazzo tiles or porcelain enamel joint surfaces, the glaze should be removed by abrading with sandpaper or wire brush.
Priming
On new substrates, the sealant can be applied without Primer. However, for old and very porous substrates apply Polyprime PS*. When applying on aluminium and metal surfaces, ensure the surface is cleaned of all lacquer or protective coatings. Galvanized, copper and stainless steel surfaces shall be primed with Polyprime NP*.
Back-up Material
A bond breaking backing rod (Polyrod)* shall be inserted into all movement joints to avoid a three sided adhesion. A bond breaking tape may be applied to joints where the depth does not allow the application of the backing rod.
Application
Polyseal 1PU is available in a ready to use self contained sausage which can be loaded onto a barrel gun. Start extruding the sealant into the joint firmly by maintaining an even pressure on the trigger of the gun. On vertical joints, sealant extrusion shall start from the bottom of the joint and continued to the top. Once the sealant has been installed a suitable rounded tool can be used to achieve a smooth hour glass profile. DO NOT USE SOAPY WATER SOLUTION. Any masking tape applied should be removed immediately after the sealant is installed.

